 Save
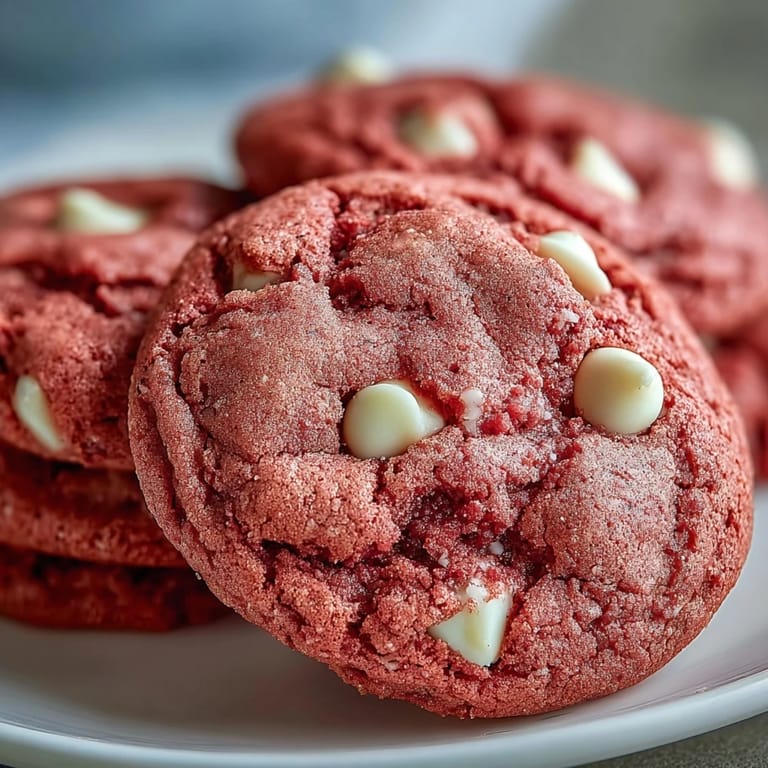
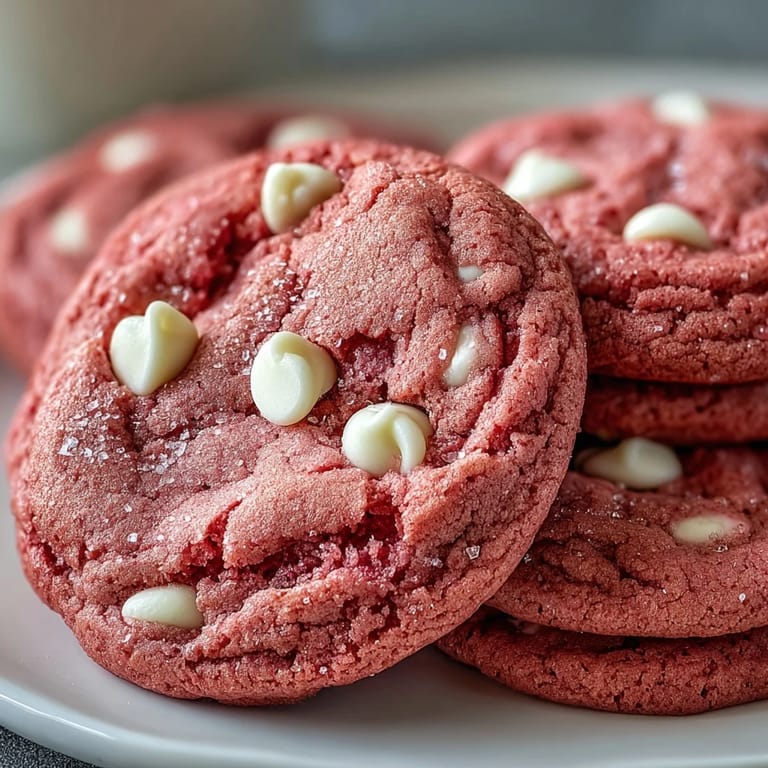
Save My daughter walked into the kitchen one Saturday morning and asked if cookies could be pretty and delicious at the same time. I was halfway through my coffee, still in pajamas, and somehow that question stuck with me all day. By evening, we were standing side by side at the counter, watching pale dough transform into the most cheerful shade of pink I'd ever seen. The white chocolate chips we folded in looked like little pearls against all that color. That batch disappeared before bedtime, and I've been making them ever since.
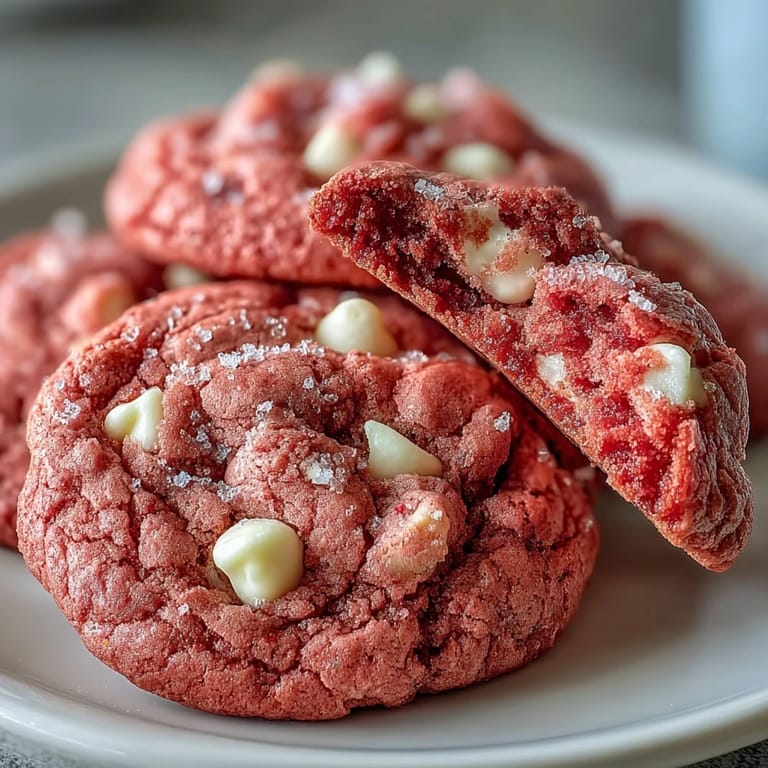
I brought a tin of these to a potluck once, and three different people asked if I'd ordered them from a bakery. One friend took a bite, paused, then immediately asked for the recipe on the spot. There's something about the way they look so festive but taste like a classic sugar cookie with a twist that makes people smile before they even take a bite. I've made them for birthdays, baby showers, and random weeknights when we all needed a little brightness. They've never let me down.
Ingredients
- All-purpose flour: This gives the cookies their structure without making them heavy, and measuring by weight ensures they turn out tender every time.
- Baking powder and baking soda: The combination creates just the right amount of lift and spread, so the cookies stay thick but not cakey.
- Salt: A small amount balances the sweetness and makes the vanilla and white chocolate flavors stand out.
- Unsalted butter, softened: Room temperature butter creams beautifully with the sugar and creates that soft, melt-in-your-mouth texture.
- Granulated sugar: It dissolves into the butter and gives the cookies a slight crispness on the edges while keeping the centers chewy.
- Egg: One large egg binds everything together and adds richness without making the dough too wet.
- Vanilla extract: Pure vanilla is worth it here, it adds warmth and depth that you'll taste in every bite.
- Pink gel food coloring: Gel color is more concentrated than liquid, so you get vibrant color without thinning the dough.
- White chocolate chips: They add creamy sweetness and look stunning against the pink, plus they stay soft even after the cookies cool.
Tired of Takeout? 🥡
Get 10 meals you can make faster than delivery arrives. Seriously.
One email. No spam. Unsubscribe anytime.
Instructions
- Whisk the dry ingredients:
- In a medium bowl, combine the flour, baking powder, baking soda, and salt until evenly mixed. This step ensures the leavening is distributed so every cookie bakes consistently.
- Cream the butter and sugar:
- Beat the softened butter and granulated sugar with a mixer on medium-high speed for 2 to 3 minutes until the mixture is pale, fluffy, and almost doubles in volume. This is where the cookies get their light texture.
- Add egg, vanilla, and color:
- Mix in the egg and vanilla extract until smooth, then add the pink gel food coloring. Beat until the color is evenly distributed and the dough looks cheerful and bright.
- Combine wet and dry:
- Gradually add the dry ingredients to the wet mixture on low speed, mixing just until no flour streaks remain. Overmixing can make the cookies tough, so stop as soon as it comes together.
- Fold in white chocolate chips:
- Use a spatula to gently fold in the white chocolate chips, making sure they're scattered throughout the dough. This keeps them from sinking to the bottom during baking.
- Chill the dough:
- Cover the bowl with plastic wrap and refrigerate for 30 minutes. Chilled dough spreads less in the oven, so your cookies stay thick and soft.
- Preheat and prep:
- Set your oven to 350°F and line two baking sheets with parchment paper. This prevents sticking and makes cleanup easy.
- Scoop and space:
- Use a tablespoon or cookie scoop to portion the dough into balls, placing them about 2 inches apart on the prepared sheets. They'll spread just enough to look homemade and inviting.
- Bake until set:
- Bake for 10 to 12 minutes, watching for edges that look set while centers still appear slightly soft and shiny. They'll look underbaked, but trust the process.
- Cool on the pan:
- Let the cookies rest on the baking sheets for 5 minutes to finish setting, then move them to a wire rack to cool completely. This step keeps them from breaking apart while they're still warm.
 Save
Save The first time I made these for a friend going through a rough week, she opened the container and just stared at them for a second. Then she laughed and said they looked like happiness in cookie form. We sat on her porch with tea and ate four each, talking about nothing important. She still texts me photos whenever she bakes them herself now. It's funny how something as simple as a pink cookie can become a little tradition between people.
Making Them Your Own
If you want to add a subtle floral note, a few drops of rose water mixed in with the vanilla makes these taste almost fancy. Almond extract works too, about half a teaspoon, and it pairs beautifully with the white chocolate. I've also pressed a few extra white chocolate chips on top of each dough ball right before baking, just for looks, and it makes them even prettier. You can adjust the pink to whatever shade you like, I've gone pale blush for showers and hot pink for birthday parties.
Storing and Serving
These cookies stay soft and chewy for up to a week in an airtight container at room temperature. I've never had a batch last that long, but it's good to know. If you want to get fancy, sandwich two cookies with a layer of cream cheese frosting in the middle, it's almost like a little cake. You can also freeze the baked cookies for up to three months, just let them thaw at room temperature and they taste like you just pulled them from the oven.
Little Touches That Matter
I always make sure my butter is truly softened, not melted, because that's what makes the dough cream properly and gives you that fluffy texture. If you're in a hurry, you can cut the butter into small cubes and let it sit for 10 minutes. I've learned to line my baking sheets even if they're nonstick, because parchment makes the bottoms bake more evenly and nothing sticks. When I scoop the dough, I try to keep the balls roughly the same size so they all bake at the same rate and look uniform on a plate.
- Use a light hand when folding in the chocolate chips so you don't deflate the dough.
- Let the cookies cool on the pan for the full 5 minutes or they might crack when you move them.
- If you don't have gel coloring, liquid works in a pinch, just add it slowly and expect a slightly softer dough.
 Save
Save These cookies have a way of making any moment feel a little sweeter, whether you're baking them with someone you love or sneaking one warm from the oven when no one's looking. I hope they bring as much joy to your kitchen as they have to mine.
Recipe FAQs
- → What gives pink velvet cookies their color?
Pink gel food coloring provides the vibrant hue. Gel coloring works better than liquid alternatives as it won't thin the dough or affect the texture. Start with 2 teaspoons and adjust to achieve your desired shade of pink.
- → Can I make these cookies ahead of time?
Yes, the dough refrigerates well for up to 3 days or freezes for 3 months. Scoop the dough before freezing, then bake straight from the freezer adding 1-2 minutes to the baking time. Baked cookies stay fresh in an airtight container for up to 1 week.
- → Why is chilling the dough important?
Chilling for 30 minutes prevents the cookies from spreading too much in the oven. This step helps them maintain thickness, creates better texture contrast between crispy edges and soft centers, and allows flavors to meld together.
- → What's the difference between velvet and regular cookies?
Velvet cookies typically have a softer, more tender crumb and often include coloring. The creaming method and precise ratios of butter to sugar create that signature velvety texture that melts in your mouth.
- → Can I use dark chocolate chips instead?
Absolutely. Dark or semi-sweet chocolate chips work beautifully and create striking contrast against the pink dough. Milk chocolate chips also pair well, offering a sweeter profile that complements the buttery base.
- → How do I know when the cookies are done?
The edges should look set and slightly golden while centers appear soft and underbaked. This is correct—they'll continue cooking on the hot baking sheet. Overbaking leads to dry cookies, so remove them when they still look slightly raw in the middle.