 Save
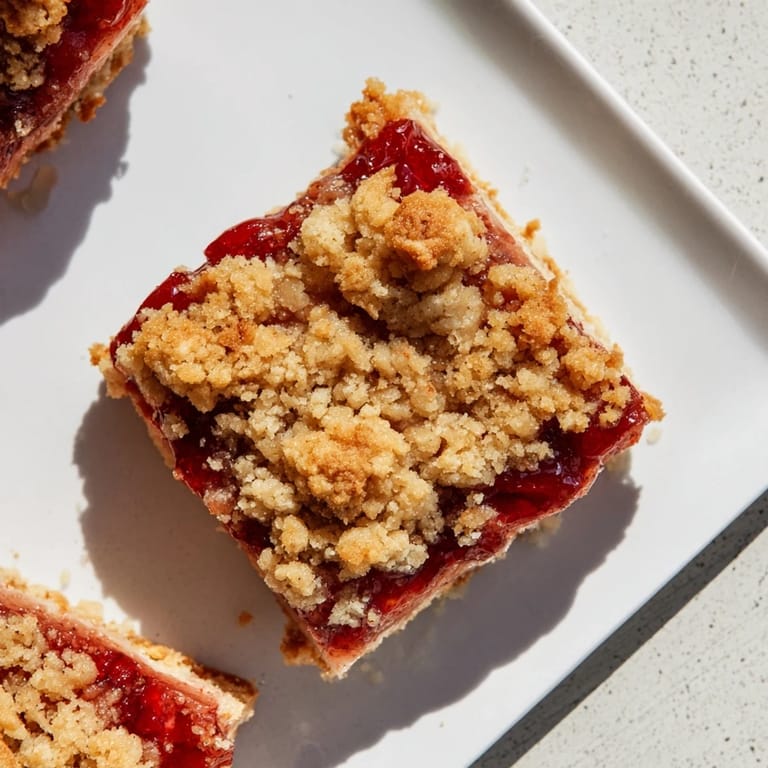
Save My neighbor knocked on my door one Saturday morning holding a jar of her homemade strawberry jam, asking if I had any ideas for using it up. I threw together these squares with what I had in the pantry, and by noon we were sitting on her porch with warm crumbles on paper plates. She told me they tasted like the ones her grandmother used to make in Michigan. I've been baking them ever since, sometimes with store-bought jam when I'm in a hurry, and they never disappoint.
I made these for a potluck once and forgot to mention they were homemade. Someone asked which bakery I'd gone to. That felt better than any compliment. The truth is, the dough is forgiving and the jam does most of the work. I've made them on weeknights when I needed something sweet without the fuss of frosting or layering.
Ingredients
- All-purpose flour: Forms the tender, crumbly structure that holds everything together without being too dense.
- Baking powder: Just a touch gives the base a little lift so it doesn't bake up too flat or hard.
- Salt: Balances the sugar and brings out the buttery flavor in a way that feels natural.
- Granulated sugar: Sweetens the dough just enough without competing with the jam.
- Unsalted butter: Cold and cubed is key so it stays in little pockets that create that crumbly, melt-in-your-mouth texture.
- Egg: Binds the dough gently and adds a bit of richness without making it cakey.
- Vanilla extract: A quiet background note that makes everything taste a little more homemade.
- Strawberry jam: The star of the show, choose a good quality seedless one if you want a smoother bite.
Tired of Takeout? 🥡
Get 10 meals you can make faster than delivery arrives. Seriously.
One email. No spam. Unsubscribe anytime.
Instructions
- Prep the pan:
- Preheat your oven to 350°F and line an 8-inch square pan with parchment, letting the edges hang over so you can lift the whole thing out later. It makes cutting so much easier.
- Mix the dry base:
- Whisk together the flour, baking powder, salt, and sugar in a big bowl until everything looks evenly blended.
- Cut in the butter:
- Add your cold butter cubes and work them into the flour with a pastry cutter or your fingers until the mixture looks like damp sand. You want pea-sized bits of butter still visible.
- Add the wet ingredients:
- Stir in the egg and vanilla just until the dough starts to clump together. Don't overmix or it'll get tough.
- Press the base:
- Take about two-thirds of the dough and press it firmly into the bottom of your pan in an even layer.
- Spread the jam:
- Spoon the strawberry jam over the base and spread it gently, leaving a thin border around the edges so it doesn't bubble over. The jam will spread a bit as it bakes.
- Add the crumble:
- Break up the remaining dough into small clumps and scatter them over the jam layer like little clouds.
- Bake until golden:
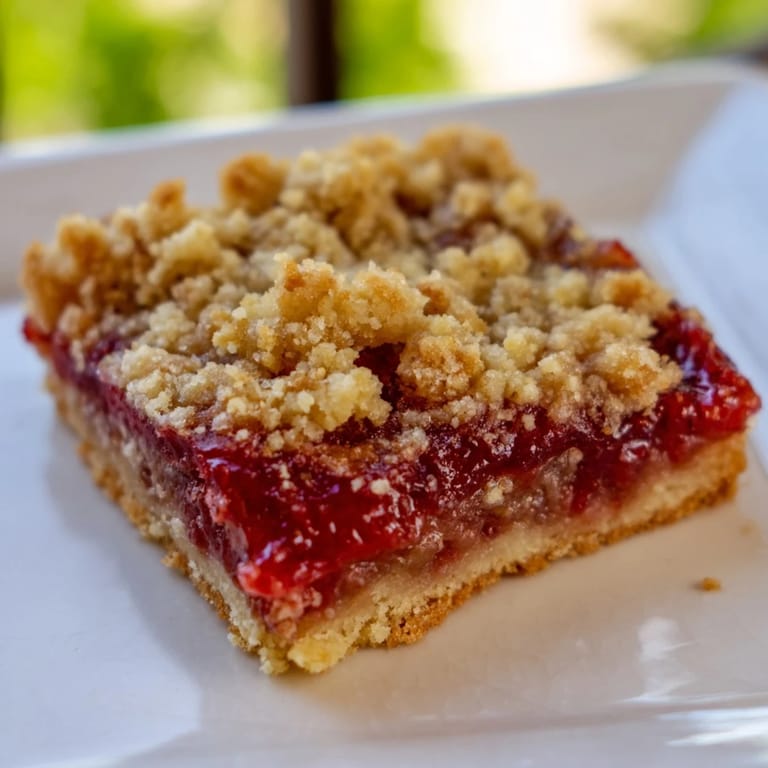
- Slide the pan into the oven and bake for 30 to 35 minutes, until the top turns a light golden brown and your kitchen smells like butter and berries.
- Cool completely:
- Let the pan cool all the way on a wire rack before you try to lift it out. If you cut too early, the jam will ooze everywhere.
 Save
Save I brought these to a book club meeting once and they disappeared before we even opened the book. One friend texted me later asking for the recipe, saying her kids had been asking about the red squares all week. It reminded me that the simplest things often leave the biggest impressions.
Flavor Variations
Raspberry jam gives you a slightly tart edge that's wonderful in summer. Apricot jam brings a mellow sweetness that feels more grown-up. I've even used fig preserves once when I was feeling fancy, and it worked beautifully with a handful of chopped walnuts in the crumble.
Serving Suggestions
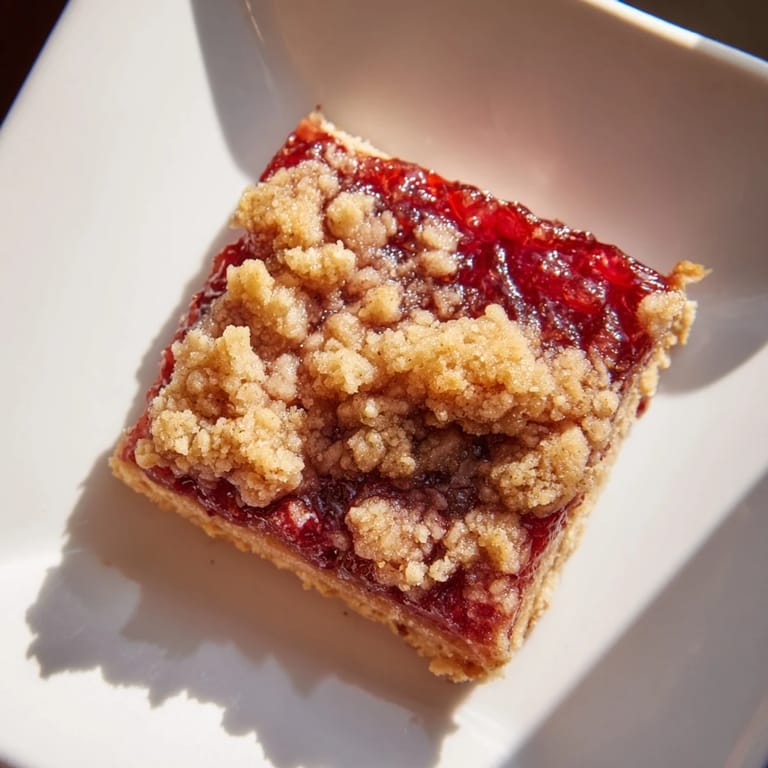
These are perfect at room temperature with black coffee in the morning or tucked into a lunchbox. If you want to make them feel like dessert, warm a square in the microwave for ten seconds and top it with a scoop of vanilla ice cream. The contrast between cold cream and warm jam is something special.
Storage and Make-Ahead Tips
Store them in an airtight container at room temperature for up to three days, or in the fridge for a week. They also freeze beautifully. I wrap individual squares in plastic wrap and stack them in a freezer bag, then thaw one whenever I need a quick sweet fix.
- Let them come to room temperature before serving for the best texture.
- You can make the dough a day ahead and keep it chilled until you're ready to bake.
- Double the recipe and use a 9x13 pan if you're feeding a crowd.
 Save
Save These squares have become my go-to when I want something homemade without the fuss. They're proof that the best recipes are often the ones that don't ask for much but give you everything.
Recipe FAQs
- → What type of flour is best for these bars?
All-purpose flour works best to create the right balance of crumbly texture and structure.
- → Can I use other fruit spreads instead of strawberry?
Yes, raspberry or apricot preserves make great alternatives, adding unique flavors.
- → How should I store these bars for freshness?
Store them in an airtight container at room temperature for up to 3 days or refrigerate to extend freshness.
- → Is it possible to make the crumble topping crunchier?
Adding finely chopped nuts or extra sugar to the crumble can increase crunch and texture.
- → What’s the best way to serve these squares?
They are delicious slightly warm and pair wonderfully with a scoop of vanilla ice cream.